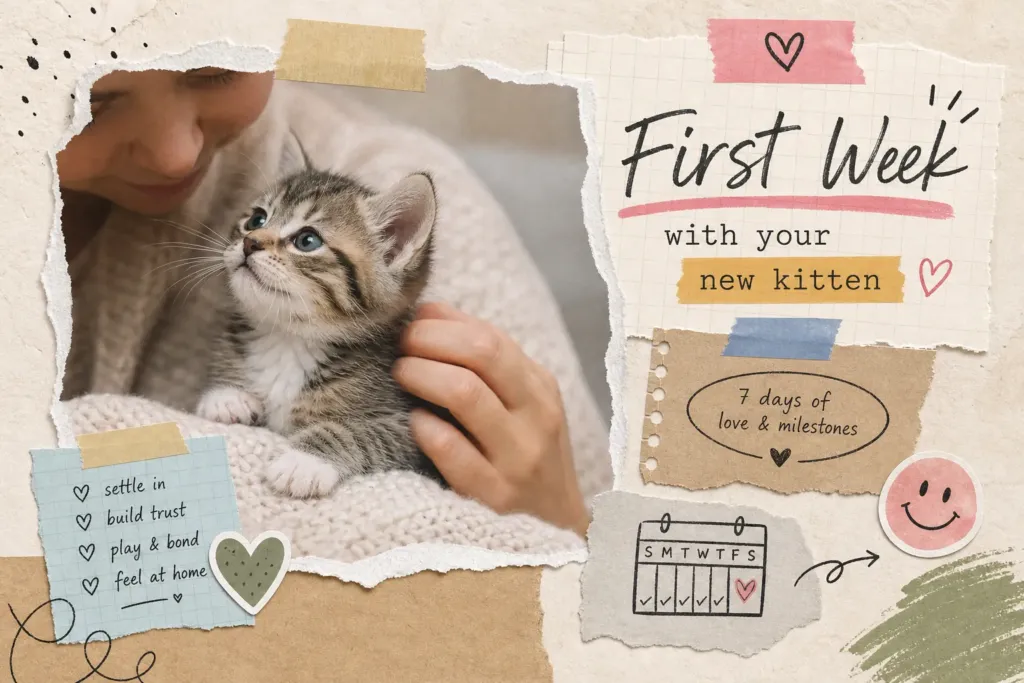
The day you bring a new kitten home is genuinely exciting, and also a little overwhelming. You have a tiny animal depending entirely on you, a home full of potential hazards you never noticed before, and a long list of things you’re not sure you’ve covered. That mix of joy and mild panic is completely normal, and it passes quickly once you have a plan. The first week with a new kitten sets the tone for everything that follows, so knowing what to expect each day makes an enormous difference.
What happens during these seven days shapes your kitten’s sense of safety, your confidence as a caretaker, and the habits both of you carry forward. Owners who arrive prepared with a clear daily approach and proper documentation from a trusted breeder move through this adjustment period far more smoothly than those who wing it.
This guide walks you through everything: what to have ready before the kitten arrives, how to handle the first 48 hours, building a feeding routine, litter training, introducing your kitten to children and resident pets, and timing that first vet visit correctly.
What to Have Ready Before Bringing Your Kitten Home
The non-negotiable new kitten checklist
Set everything up before the kitten walks through the door. Scrambling for a litter box after arrival adds chaos at exactly the wrong moment. Your core list includes:
- Kitten-formulated food
- Ceramic or stainless steel food and water bowls
- A low-sided litter box
- Unscented, non-clumping litter and a scoop (clumping litter is generally appropriate only for kittens older than approximately 3, 4 months; check with your vet for guidance specific to your kitten’s age)
- A carrier
- A scratching post
- A few safe toys
- A comfortable bed
A few items that often get forgotten: enzymatic cleaner for accidents, a breakaway collar with an ID tag, and basic grooming tools like a soft brush and nail clippers. Having everything in place before arrival reduces stress for both of you and lets you focus entirely on your kitten during those first important hours.
Setting up a safe base room
Confining your kitten to one quiet room for the first few days is one of the smartest things you can do. A spare bedroom or large bathroom works well. Stock it with the litter box, a cozy sleeping spot, and food and water placed on opposite sides of the room from the box. Then kitten-proof it: secure loose cords, remove any toxic houseplants, and block gaps behind appliances or under furniture where a small kitten can get wedged.
This room becomes your kitten’s anchor point for the whole first week. Think of it as a cozy studio apartment, familiar, fully stocked, and free of surprises. A small, predictable space gives a new kitten something manageable to understand, which is far less stressful than the run of an entire house on day one.
Your First Week with a New Kitten: Days 1, 2
What normal behavior looks like on arrival day
Most kittens hide for the first few hours after arriving in a new home. That is completely normal settling-in behavior, not a sign that something is wrong with your kitten or your approach. Let the kitten explore at its own pace, sit quietly on the floor nearby, and resist the urge to pick it up repeatedly or call family members over for a first look. Noise and visitors should wait a few days.
The goal for day one is safety and calm, not bonding milestones. Brief, positive interactions on the kitten’s terms build more trust than forced cuddle sessions. If your kitten spends most of day one under the bed, that is fine. Many kittens begin exploring within 24 to 48 hours, though timelines vary by temperament and age, most let curiosity win by day two.
Starting litter box habits from the first hour
Place your kitten in the litter box shortly after you arrive home, then again after every meal and every nap. Gently scratch the litter with a finger to demonstrate digging, then step back and let the kitten investigate without hovering. Many kittens raised with their mother or in a breeder environment show some litter box familiarity, but reinforcing the habit from day one is still important regardless of their background.
Clean the box daily, or more frequently if you have multiple cats, so it stays inviting. If accidents happen, clean immediately with an enzymatic cleaner and redirect the kitten calmly to the box. Punishment is not recommended at any stage and is especially damaging during the trust-building period of the first two days.
Days 3, 4: Building a Feeding Routine Your Kitten Can Count On
How often and how much to feed a young kitten
For kittens between 8 and 12 weeks old, feed three to four small meals spaced evenly across waking hours. A general starting point of roughly 200 to 300 kcal per day, split across those meals, is a commonly cited range for kittens in this age group, though exact needs depend on your kitten’s weight, activity level, and the calorie density of the specific food. Always consult the feeding chart on your food packaging and confirm targets with your vet at the first appointment. In practical terms, that looks like two to three small cans of wet food per day or about half a cup of dry food, adjusted as needed.
Free-feeding dry food is acceptable in a pinch, but scheduled meals make it much easier to track appetite. During this important growth window, a kitten that suddenly eats less is a signal worth catching early. You only catch it when you know what “normal” looks like.
Keeping your kitten on familiar food during the transition
Stick with whatever food the kitten was eating at the breeder for at least the first week. Sudden diet changes layer digestive stress on top of the environmental adjustment, which can cause loose stools and make litter training harder at exactly the wrong time. If you plan to switch foods, do it gradually by mixing the new food with the original over seven to ten days.
Responsible breeders share the exact food and feeding schedule they used before sending a kitten home. That detail simplifies week one significantly because you are maintaining consistency rather than introducing variables. Kitty Palace Cattery provides feeding information with every kitten so new owners are never guessing from day one.
Litter Training During the First Week with a New Kitten: Days 4, 5
What good progress looks like by mid-week
By days four and five, a kitten kept in its base room and guided after meals should be finding the litter box consistently on its own. Look for your kitten walking toward the box independently, digging before use, and covering afterward. Reinforce that behavior with quiet, calm praise immediately after the kitten uses the box. Treats work well here too.
Keep roaming space small until box use is reliable. Young kittens have limited bladder control. A box that is even two rooms away can be too far during a moment of urgency, and an accident in the hallway is not a training failure, it is a logistics problem.
Common problems and how to handle them
Accidents near but not inside the box usually mean the box is too far away. Move it closer. A kitten refusing to use the box at all often responds to a shallower box or a switch to unscented, non-clumping litter. Inconsistent use despite frequent placement is normal in the first week and usually resolves with patience and continued guidance after every meal and nap.
Some issues require a vet call, not more training. Contact your vet if you notice any of the following:
- Straining at the litter box without producing waste
- Blood in urine or stool
- Vomiting paired with litter box changes
- Complete refusal to eliminate
These are not training problems; they are medical ones.
Days 5, 6: Introducing Your Kitten to Children and Resident Pets
A scent-first approach to resident cats and dogs
Never skip directly to face-to-face contact. Start by swapping a blanket or bed between your kitten and any resident pets so each animal can investigate the other’s scent through a closed door. Feed both the kitten and the resident animals on opposite sides of that door so they build a positive association with each other’s smell. Start with bowls far enough from the door that everyone eats calmly, then move them closer over the next day or two.
Once both animals stay relaxed during scent sessions, introduce brief visual contact using a baby gate or cracked door before any face-to-face meeting. Never rush past a stage because the animals seem calm. Patience during days five and six prevents weeks of territorial conflict later. For dogs especially, keep the dog on a leash during all early visual introductions and end the session immediately if the dog fixates or the kitten freezes.
Teaching children to be the kitten’s best first friend
Set children up for success by giving them simple, clear rules before the kitten arrives: sit on the floor, use quiet voices, wait for the kitten to come to you. Short, gentle petting sessions are the goal for week one, not picking up, carrying around, or chasing. Each of those actions can set the relationship back days.
Every child-kitten interaction during the first week should be supervised, and the kitten should always have a clear path back to its base room. A kitten that can retreat and feel safe will return to explore on its own timeline, and that is exactly what you want.
Day 7: The First Vet Visit and What Good Breeders Send You Home With
Why the timing of your first vet appointment matters
Ideally, the first vet visit should happen within 48 to 72 hours of bringing the kitten home, and no later than day seven. At this appointment, your vet checks body weight, eyes and ears, heart and lung sounds, and runs a parasite screening alongside a full physical assessment. For kittens between 6 and 16 weeks, core vaccines like FVRCP are given in a series roughly every three to four weeks, with rabies added according to local requirements.
Getting this visit done in week one catches any health issues before they become serious and starts the vaccination timeline on schedule. If your kitten is sick, not eating, sneezing heavily, or has eye discharge, do not wait for the end of the week. Call the vet immediately.
What reputable breeders provide to make this visit easy
A well-prepared new owner shows up to that first appointment with documentation, not just questions. A health certificate, vaccination records, deworming history, and any breed-specific health notes give the vet a complete picture from the very first visit. That information allows your vet to build on what was already done rather than starting from scratch.
Reputable registered breeders send every kitten home with exactly this paperwork, along with a health warranty covering congenital or hereditary conditions. Kitty Palace Cattery, a TICA-registered, family-run breeder based in New Jersey, is one example, providing full documentation and post-adoption support so your kitten’s medical history starts with real records, not gaps. That transparency streamlines your first vet visit. It also means your kitten’s medical history starts with real records, not gaps.
The First Week Is About Consistency, Not Perfection
No new owner gets every moment exactly right, and that is not the goal. Consistency during your first week with a new kitten matters more than perfection: feeding on schedule, placing your kitten in the litter box after meals, keeping introductions calm and gradual, and getting that first vet appointment on the calendar before day seven. Each day builds on the last. A tentative kitten hiding under the bed on day one becomes a curious explorer by day seven, and a nervous new owner becomes a confident caretaker.
If you are still in the adoption phase and want a kitten that comes home with health certificates, vaccination records, and clear documentation already in hand, visit Kitty Palace Cattery’s available kittens page to see current litters. Starting from a healthy, well-socialized foundation makes every part of the first week with your new kitten smoother, from that first vet visit to the moment your kitten decides your lap is its favorite place.
Frequently Asked Questions
Set up everything before arrival to reduce stress: kitten-formulated food, ceramic or stainless steel food and water bowls, a low-sided litter box, unscented non-clumping litter and a scoop, a carrier, a scratching post, safe toys, and a comfortable bed. Also have enzymatic cleaner, a breakaway collar with an ID tag, and basic grooming tools like a soft brush and nail clippers ready.
Confine the kitten to one quiet room for the first few days and stock it with the litter box, sleeping spot, and food and water placed on opposite sides of the room from the box. Kitten-proof the space by securing cords, removing toxic plants, and blocking gaps behind appliances or under furniture so the room becomes a predictable, safe anchor point.
Most kittens hide for the first few hours and may spend much of day one under furniture; this is normal settling-in behavior rather than a sign of a problem. Keep interactions brief and positive, sit quietly nearby, avoid loud visitors, and let the kitten explore at its own pace to build trust.
Place your kitten in the litter box shortly after arrival and again after every meal and nap, gently scratching the litter with a finger to demonstrate digging before stepping back. Use a low-sided box with unscented, non-clumping litter for young kittens; clumping litter is generally appropriate only for kittens older than approximately 3, 4 months, so check with your vet for age-specific guidance.
Keep the kitten in its base room for the first few days and make introductions slowly and supervised, allowing the kitten to approach at its own pace. Keep interactions calm, limit noise and the number of people involved, and use short, positive meetings so both the kitten and resident pets can adjust without being overwhelmed.
Arrange the first vet visit soon after arrival—typically within the first week—especially if you don’t have full health documentation from the breeder. Bring any paperwork you were given so the vet can review vaccination history, recommend a vaccination and deworming schedule if needed, and advise on age-appropriate care.
Commonly overlooked items include enzymatic cleaner for accidents, a breakaway collar with an ID tag, and basic grooming tools such as a soft brush and nail clippers. Having these on hand before the kitten arrives makes the first week much smoother for both of you.